A Swedish Sonic Colours speedrunner that goes by the name of UbuntuJackson, whose YouTube channel you can find here, found a way to achieve 3D in 2D status in Planet Wisp 1. For those unfamiliar with the term, 3D in 2D is a state in which you enter a 2D area while retaining the properties of the 3D area, gaining a dangerously complete freedom to navigate the 2D area while in 3D.
Initially this was seen as a TAS only strategy; The distance you had to cover and the tricks you had to do were far too tight for the human hands to actually save time with, compared to the already fairly fast route taken when restricted to 2D. Briefly after it was revealed, sharu6262 pumped out a solid TAS to demonstrate plenty of wackiness, including over 10 seconds of in-game time saved.
A decent heap of research and a few weeks later and I’m happy to say that a non-TAS player saving time is plenty viable with this trick, but the effort and learning required is fairly steep to do so. To ease this process, I’ve laid out a range of strategies, broken up into each section of the skip. You will have easy and safe strategies to choose from, as well as difficult and optimal ones.
IMPORTANT: YOU WILL NOT SAVE TIME if you choose to do this skip with every single safe strategy. There is room to make MINOR time save if you only use one major slow strategy; For example: Fast -> Fast -> Slow -> End. The necessity to mix it up is there, and you have a quality range to pick your poison from.
At the end of each section will be a gallery of gifs displaying the strategies for that area. Click them to see them in full size!
Performing the 3D in 2D Glitch
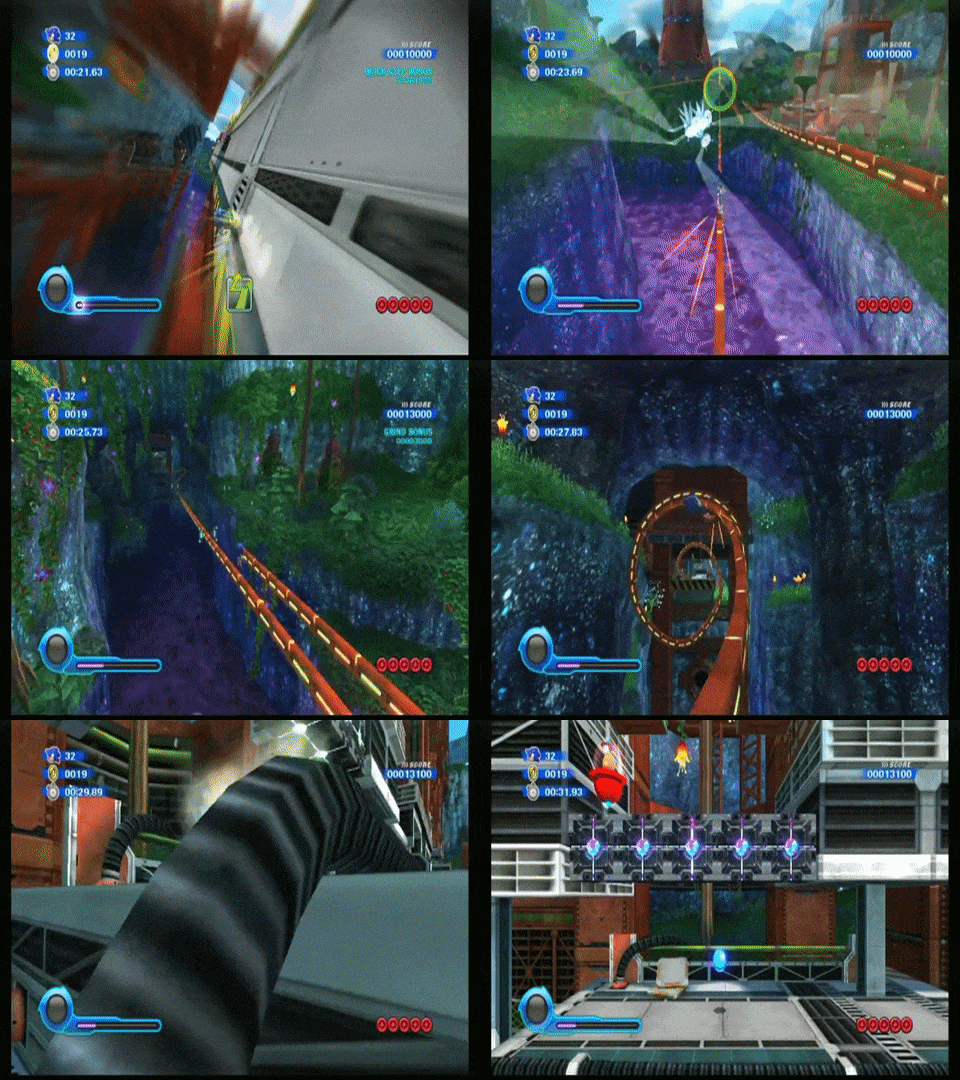
The actual property change trigger itself is located directly on the entrance to the 2D section, but to force you into it, there is a jump-disabling trigger prior to hold you to the rail. This what we are going to be finding a way around.
To start with the basics, you can touch nothing around the bend to slow down and carefully hop around the trigger [Ex 1A] to familiarise yourself of where it is. After moving down the rail upon landing, do a short hop just before the zipper ahead and hold left, so you don’t go flying off rightwards. Short hopping on the upper-right section of the next loop without anything held with send you to the left, which is enough distance to clear the actual 2D property change trigger. Pull towards the spring to gain an easy lock-on and completion of the first challenge.
There are more daring approaches though. You can jump on the bend to launch high and to the right of the wall and return to the rail beyond it [Ex 1B] or you can maintain as much speed as possible so you can double jump around the trigger at high speeds from the flat of the rail [Ex 1C]. For the most dangerous ending, you can jump directly on the vertical section of the corkscrew and boost to go directly to the solid ground, though it requires fairly precise aiming.
Reaching the Checkpoint
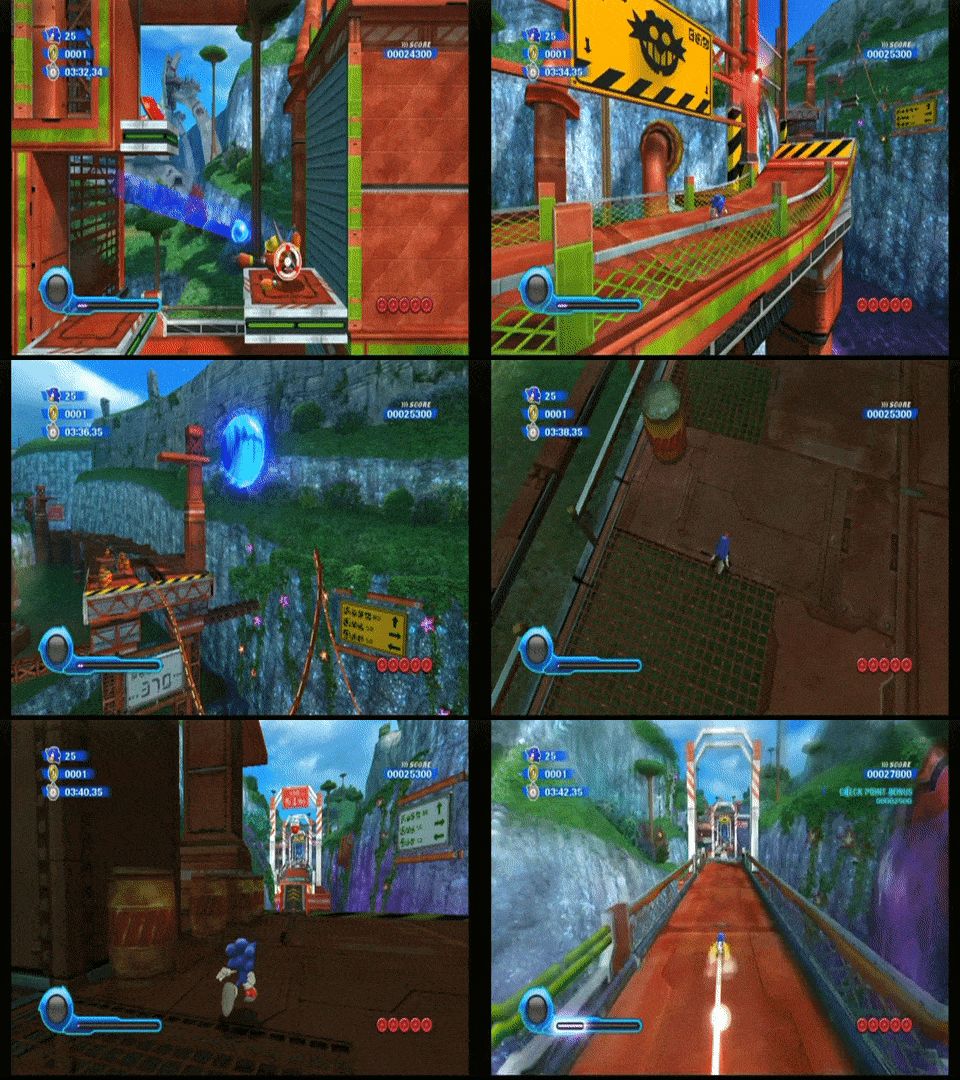
Your route to the checkpoint can go two ways; You could make it an easy and careful completion by using foreground jumps to reveal springs to move you along. [Ex 2A]
The faster strategy naturally requires a bit more finesse; Jump ever-so-slightly into the foreground and line back up, facing right. When you pass the second grey pillar, execute a quick double jump and boost. If done right, you’ll land on the path just after the loop.
Jump immediately upon hitting it and stomp next to the wall. Here we branch again into two choices; Boost straight up the wall, lean into the foreground and hit the enemy [Ex 2B], or do a double-tap boost, with the second leaning into the foreground, giving you a short window to lock-on to the enemy. [Ex 2C]
The Final Climb
Believe it or not, if you’ve used the fastest strategies so far, you’re on par with the fairly fast 2D route. Time for the real meat; Time to save some time.
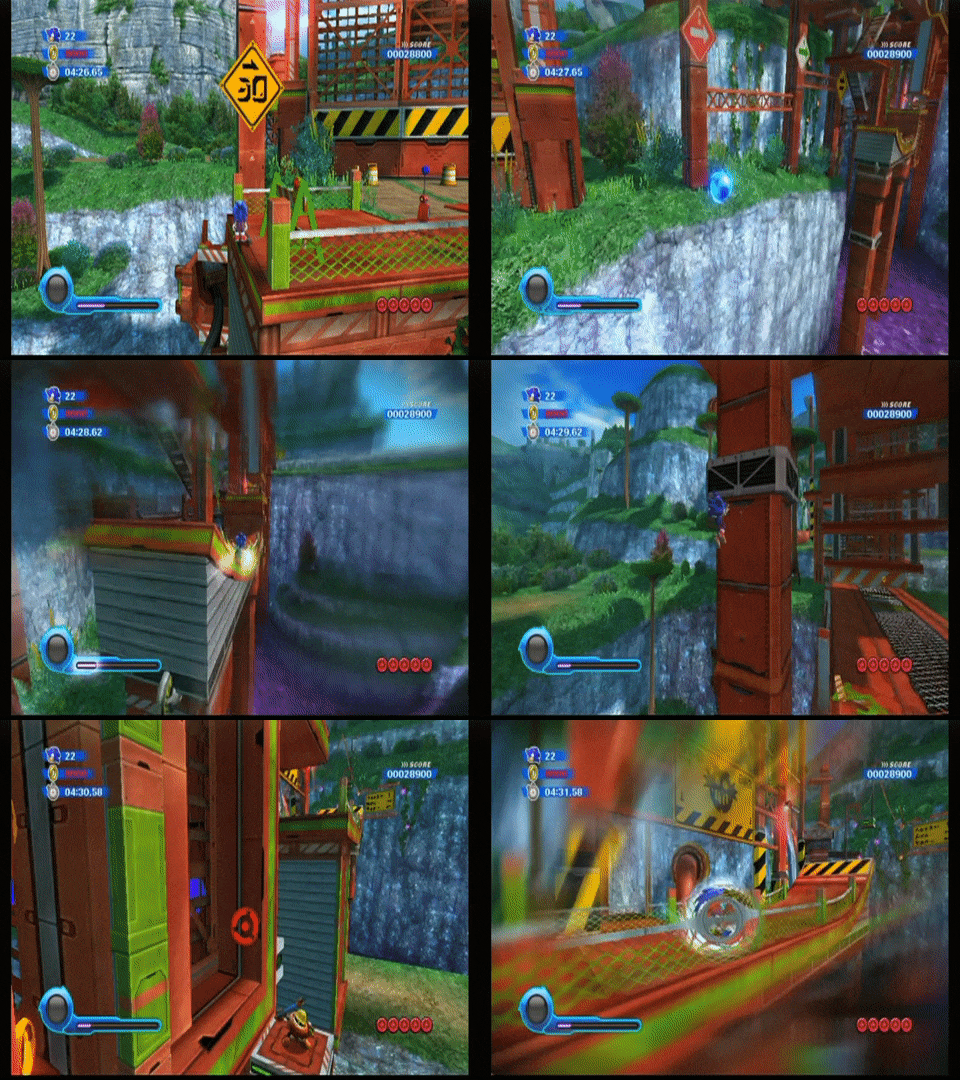
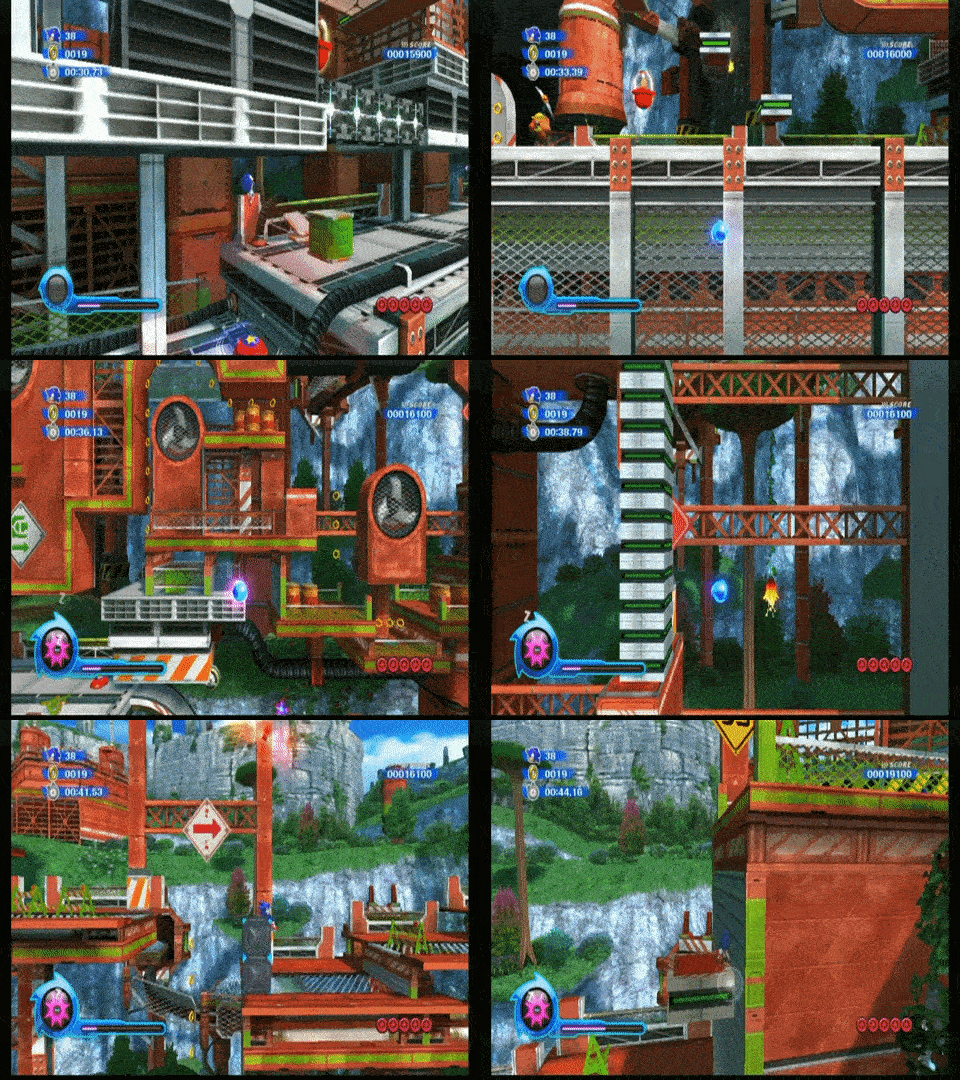
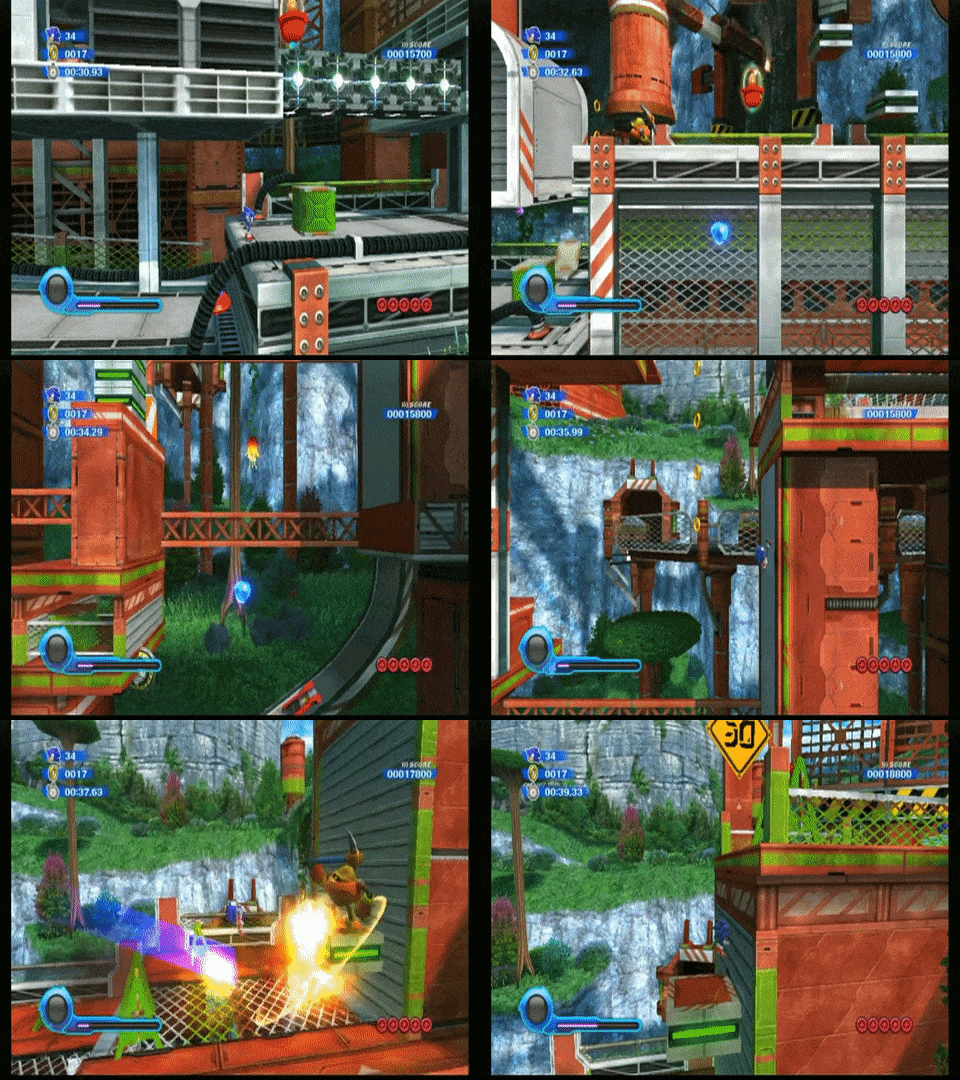
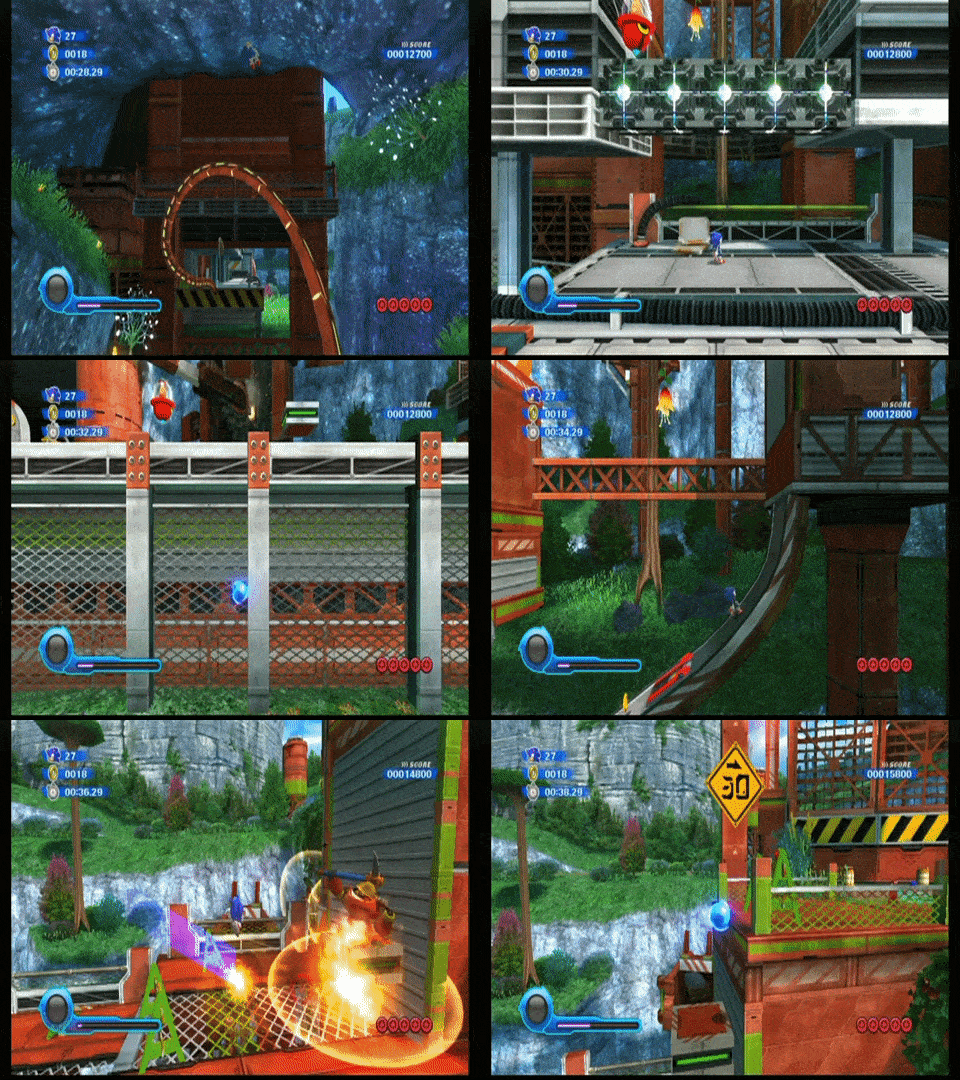
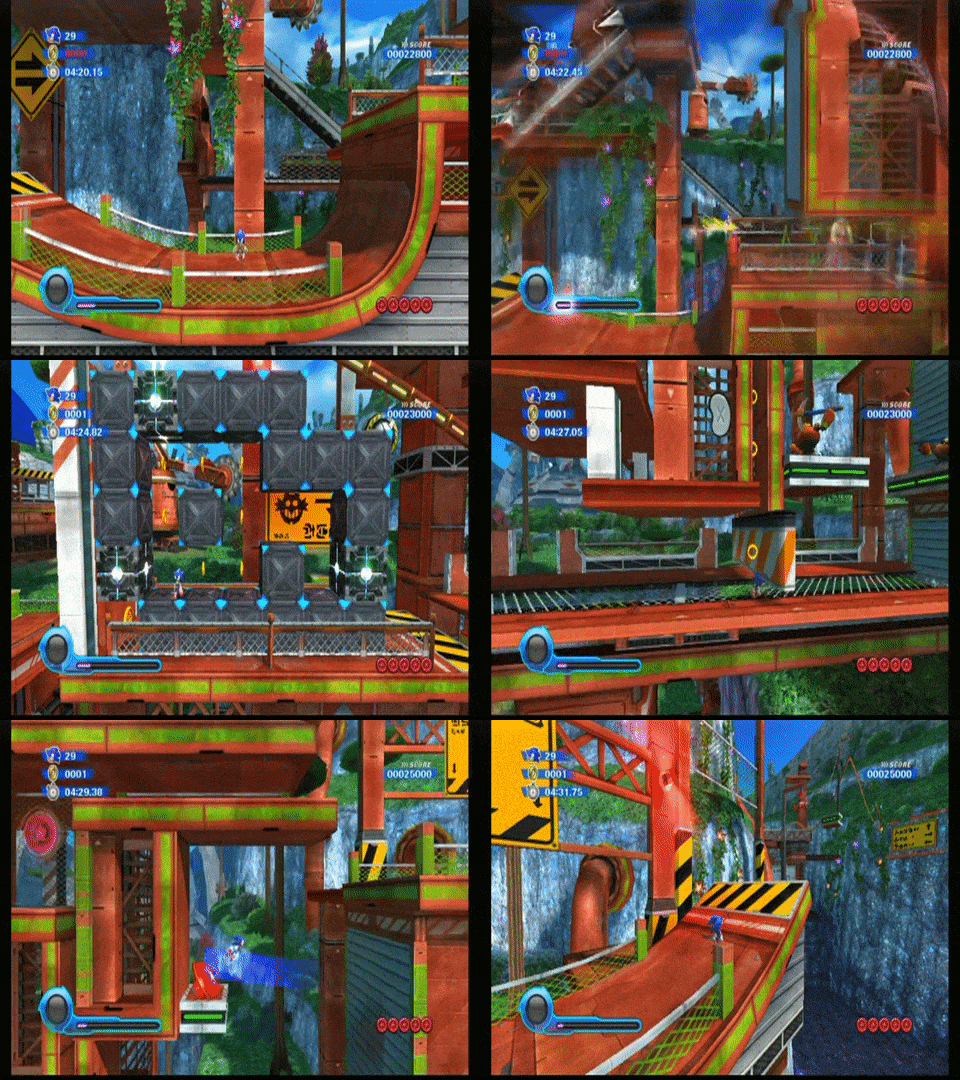
The first thing about the daunting gap jump ahead you should learn is the set-up. Notice how at the edge of the platform the checkpoint is on, the camera changes when you get near the boundary? We are going to use that as our set up angle. Stand on the middle grey vent of the texture [Ex 3A] and face directly right. Boost and jump, keeping right held.
Once the camera changes, snap the control stick forward, double jump and boost all in one tight motion. If done at the correct point, you should go flying into the backside of the ramp at the other side, popping you up and allowing an easy stomp landing.
Once you’ve gotten comfortable with that, move on to the faster clear, which requires a briefly longer delay on the forward/double jump/combo [Ex 3B]; Just be sure to stomp before you hit the ramp!
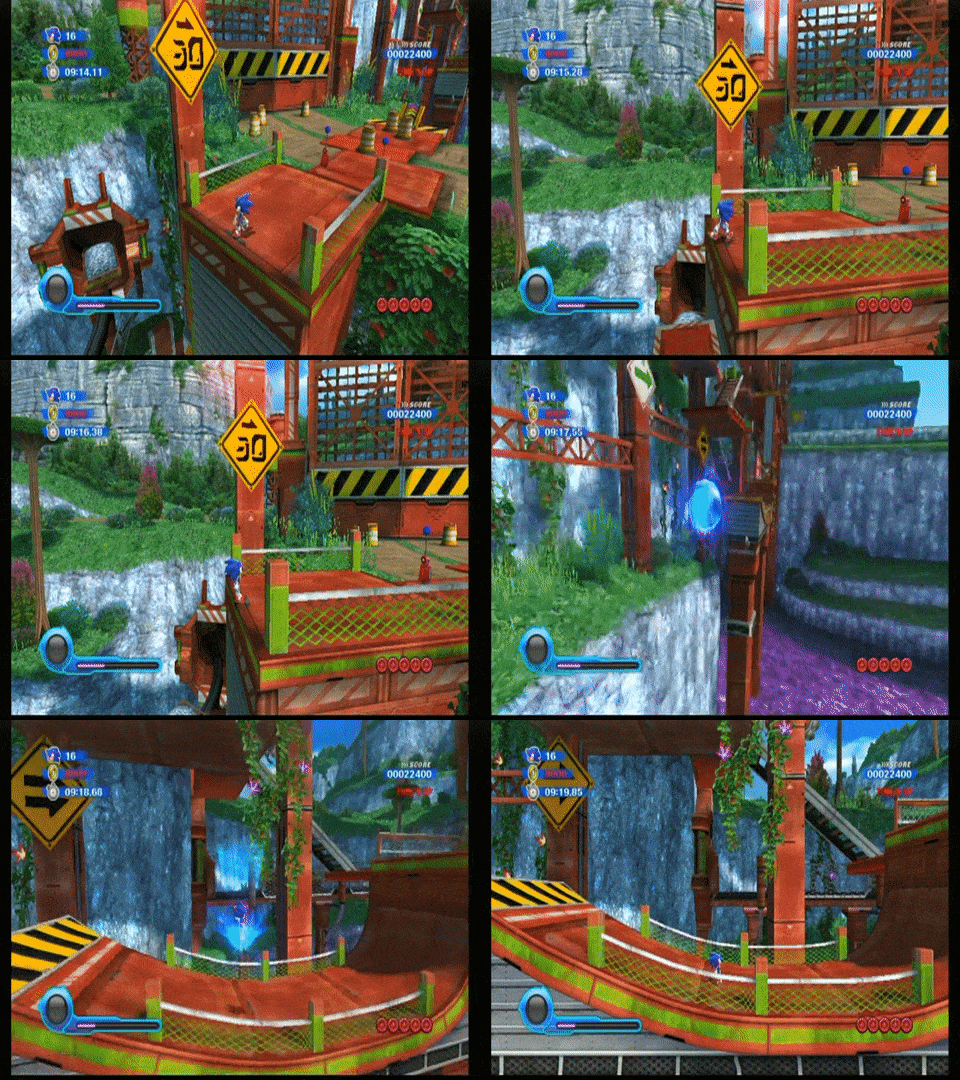
Climbing the mountain ahead isn’t as difficult as you might think; Hold boost directly into the ramp. Once you leave the ground, dip into the foreground and loop around into the stack of boxes. Once there, jump outwards and if you hold up and right then boost, you should hit the rail and go flying into the low wall [Ex 3C].
Ignore all of that if you are going for the absolute fastest strategies in the arsenal. The major move requires the fast launch [3B], but this time you aren’t going to the stomp. You are going to aim for the left side of the solid path (something you will need to mentally map on your own) and boost once you hit the slope. Curve straight once you leave the ground and hook right as you hit the peak of the launch to lock-on to the final spring in the section [Ex 3D].
Fin
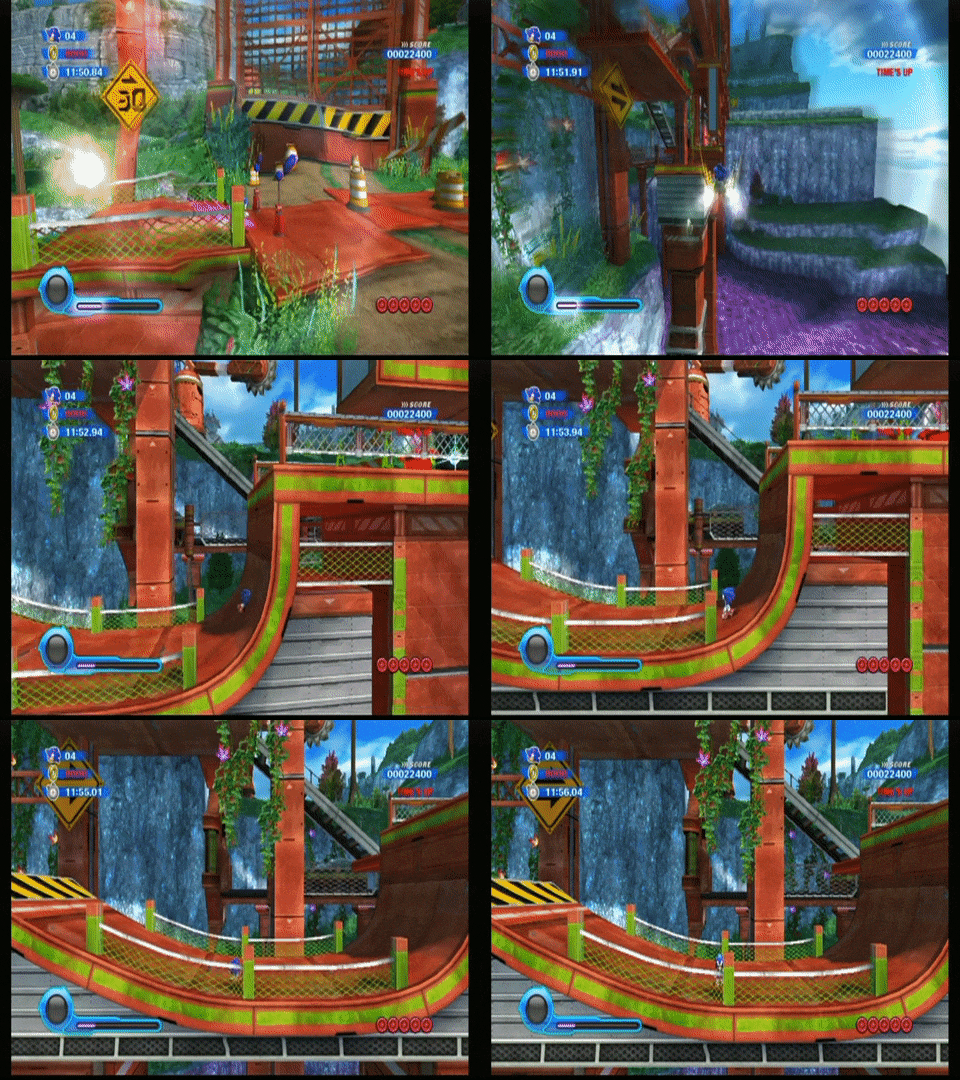
The challenges have been completed; Only a slight hurdle remains. Boost up the slope, veering left to avoid the pulley. Be sure not to stray too far left though, there is some pretty chunky invisible wall work around this pit and the last thing you’d want is to drop this trick to the invisible rounded edge that sits there. Boost to victory!
As you’d expect, all questions welcome, whether here or on Twitter (@CrypticJacknife / @GlitchingIsArt).
Got any glitches or sequence breaks you’d like to see me get at and roll out explanations for? Let me know what you think of the Glitching Is Art format! Feedback and discussion always welcome!



Leave a comment