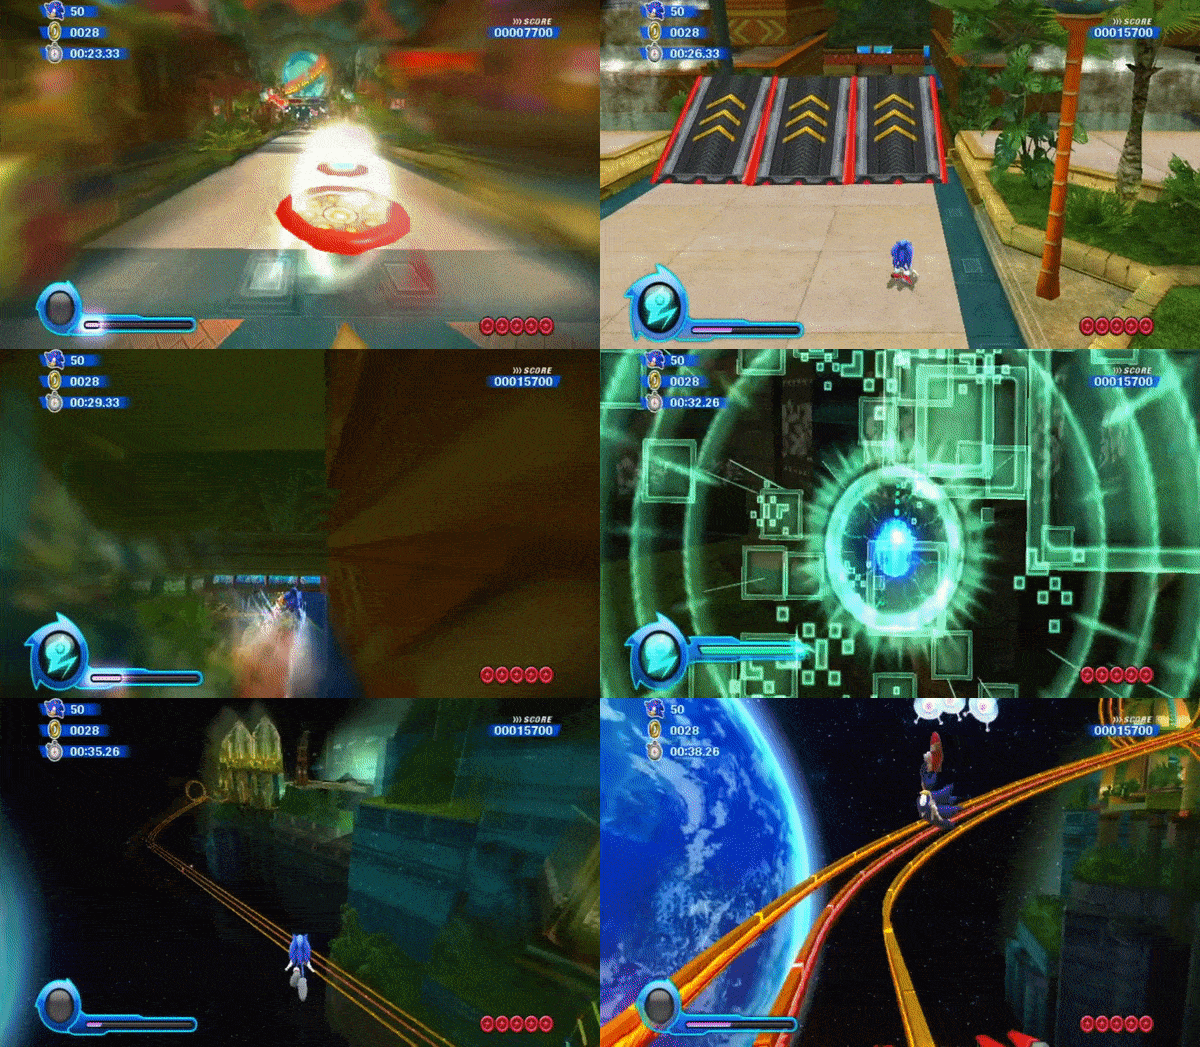
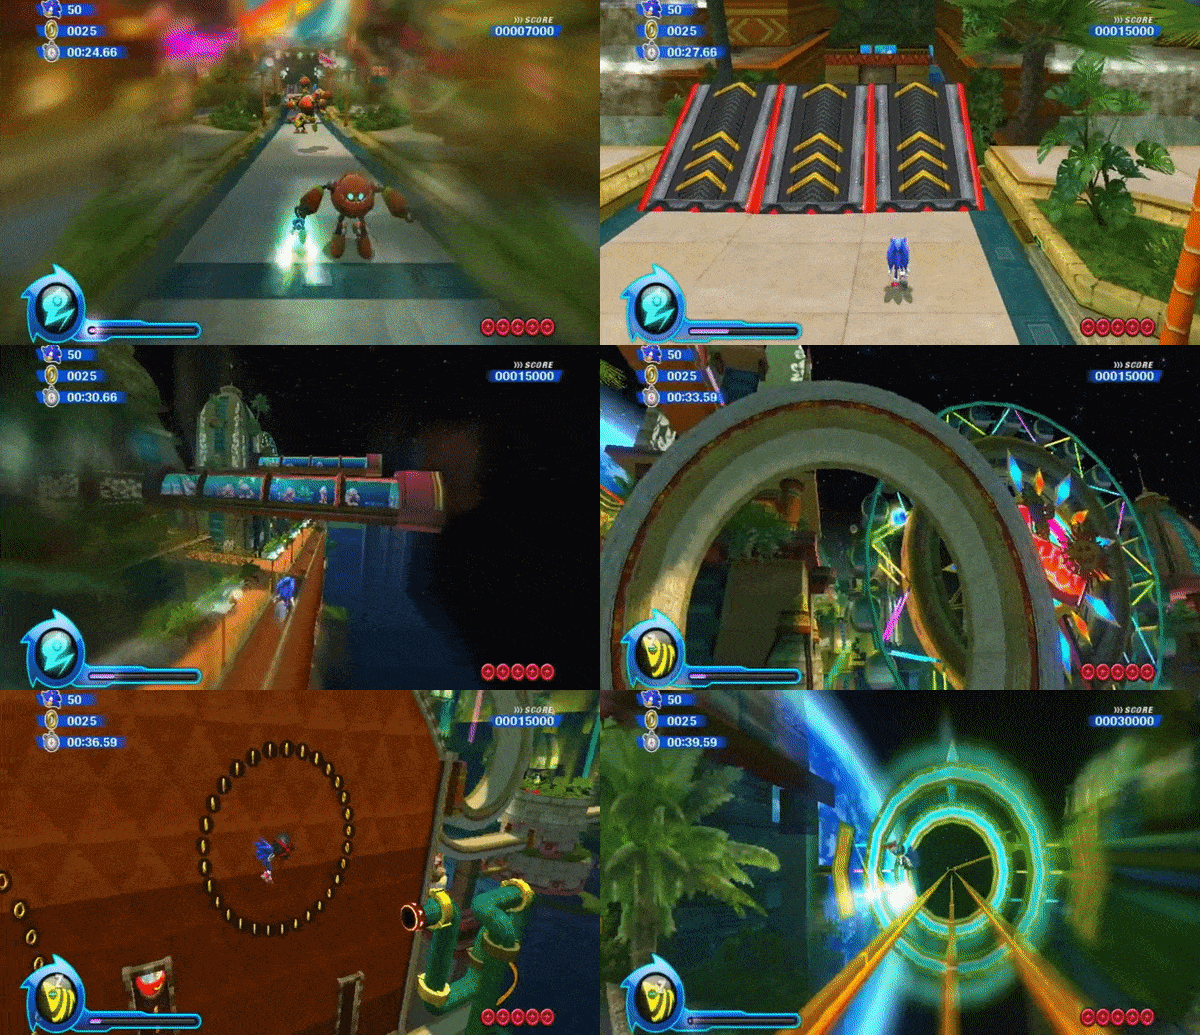
In the very first minute of every single Sonic Colours full-game run, there is a skip that has been taboo to even attempt to implement beyond Individual Level runs for half a decade.
While the original discovery of this trick, as well as the IL strategy has always been and REMAINS to be a trick far too risky and needless to add at this point of the largest push against the game’s limit yet, an alternative to achieve 3D in 2D status WAS showcased by DarkspinesSonic in a Super Sonic IL getting a 58 shortly afterwards.
This method has laid dormant for years; Obviously being slower than the Laser variant, I never approached it when doing the IL session(s) necessary to get the 53.93. Everyone immediately thought of the Laser method when theorizing potential time save in the long-run, a thought so freaky it almost became comedic to suggest. Thankfully, someone thought outside of the box.
Avikaianddaniel highlighted the strategy in a much saner approach to the IL than my own. With single-segment on the mind, he assured this was rather consistent.
He wasn’t wrong.
How It’s Done
The basic concept of the starting maneuver is to obtain just the right amount of acceleration to jump as close to the ramp as possible, without hitting said ramp or the aggressively placed invisible barrier above, which tries to force you down.
Jumping the ramp is quite a tight squeeze, so a mental mapping of the terrain needs to be done. Observe Ex.1.

The red area is your stomping grounds, quite literally. Stomp anywhere between the final lamp-post on the right and just before the texture moves on to the next tile, or alternatively, halfway across the second last square on the right.
Once you’re at a dead stop, hold directly forward; Sonic will start to accelerate.
Use your positioning within the red area to determine the depth of where you will execute your jump within the green area. Just as you leave the ground, tilt the analog stick to up-right and hold it there until you clear the ramp.
There is a fairly invasive invisible barrier trying to prevent you from achieving this quickly, hence it taking a while to discover that you could do it without needing to squeeze through with a laser.
Clearing The Gauntlet
It’s at this point that the methods diverge between an any strategy without a Laser wisp and a Shuttle strategy with one in tow; Due to it being much simpler, let’s start with the Shuttle strategy.
Now that you’re over the ramp, you still need to make sure you move around the upcoming area’s 2D trigger, which lies at the very top of the ramp and sits surprisingly wide in a 3D scenario. Thankfully, the trick prior already has you facing to the right, so all it takes is starting your boost in that direction and rotating a generously slow curve back towards solid ground.
If you have Laser, you’re in luck, because this a much easier strategy than the alternative. Observe Ex.2.

Keep in mind that only the central sliver of the 2D area is actually solid, so curve as necessary to make sure you hit it. Once down, simply short-hop and pop your Laser, aiming directly towards the latter half of the later rail section. Boost to make up the remainder of the distance and you’re home free. That easy!
Surviving Without Laser
The any% alternative doesn’t come quite so easy. Observe Ex.3.

As mentioned above, the solid ground of the 2D area is deceptive, so ensure you stomp as deliberately as possible. Once you’ve landed, halt for a moment and let the camera angle change proper.
Tap directly right so Sonic faces a direction that doesn’t send him flying off the level and hold boost without touching the analog stick. As close to the curve downwards as you can, execute a full double jump while dipping into the background. This needs to be done to avoid the camera becoming locked, which is what occurs if you try to go around via the foreground.
If you’ve got enough distance, you should be able to lock on to the spring. Once you’ve made contact, hold right and boost at the peak of the jump. As soon as you touch ground, pull the analog stick to a down-right position to avoid the boost pad up ahead.
The ending comes down to your ability to react. For a good chance, don’t try and cut it too close to the 2D section so you can see the lower area with the rail well in advance. Line up and boost towards the rail to complete this little hellscape of a sequence.
The original version of this trick might very well remain taboo at the end of the day with these discoveries in the community’s mind; In a Shuttle scenario, this saves you a clean 4 seconds, taking potential from a 59 to a 55.
Funny enough, even though it is significantly slower, the any% strategy saves just as much, decreasing your potential TR1 time in a single-segment run from as low as a 1:03 to a shiny looking 59.
That’s everything you’d ever need to know about the Tropical Resort 1 3D in 2D Skip!
For sneak previews and news, follow on Twitter at @GlitchingIsArt and be sure to follow the official GlitchingIsArt Twitch account
Regular streams of any% with plenty to come have started up so come along some time and see these tricks in action!

Leave a comment